


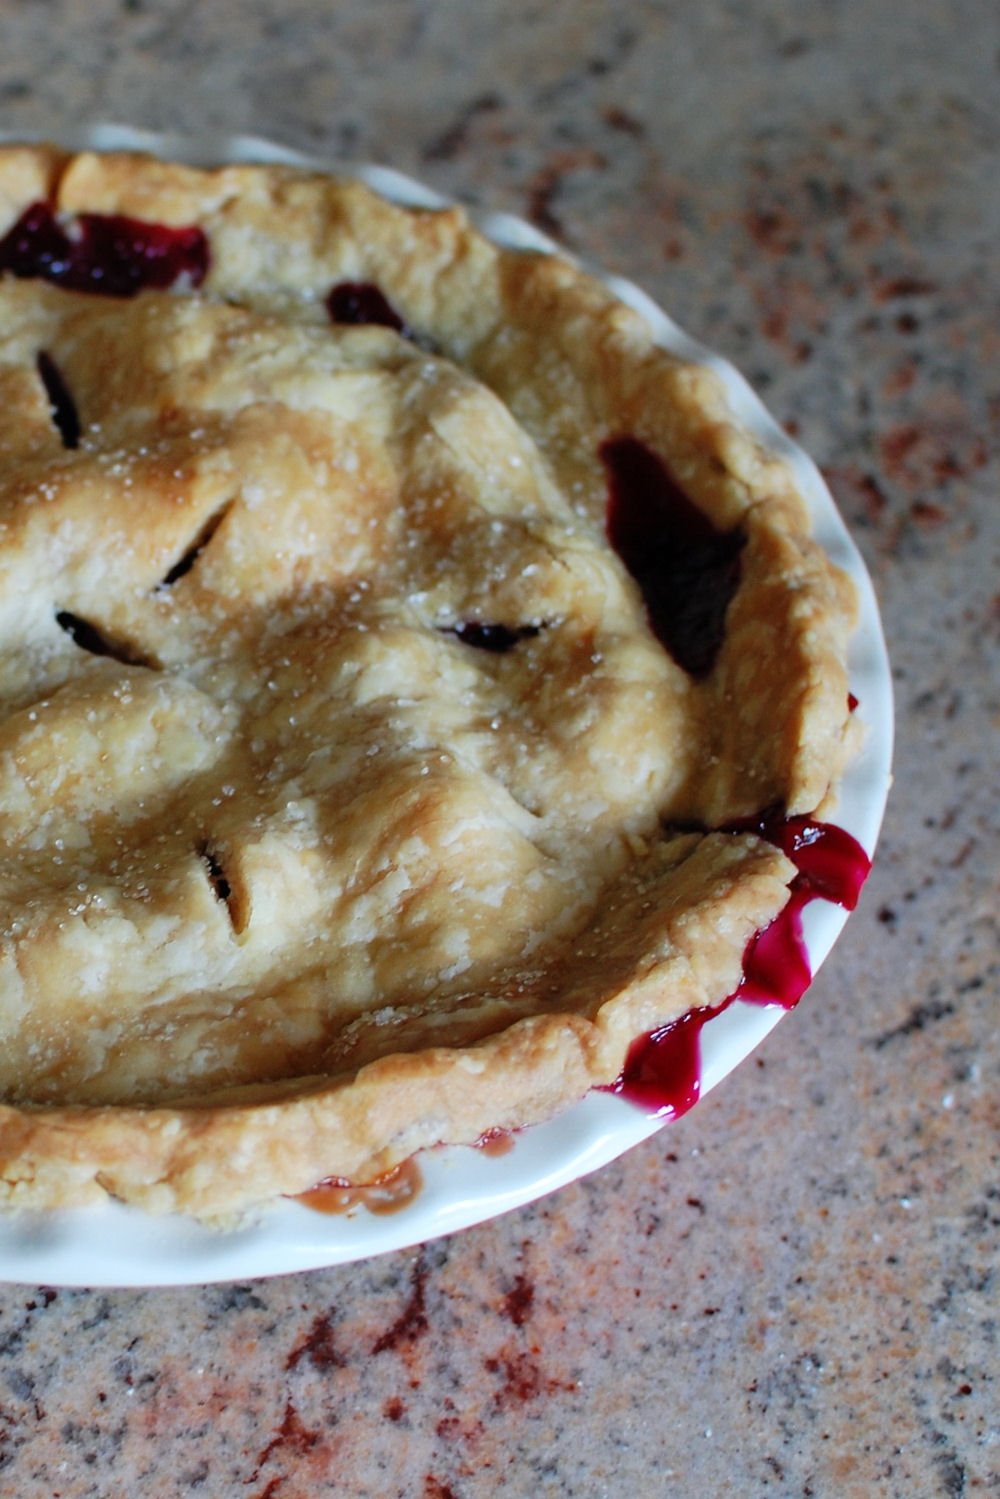
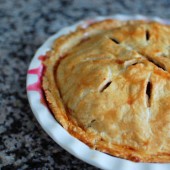
Blueberry Rhubarb Pie
Rhubarb is another veggie that makes me think of summertime. I’ve mentioned this before, but growing up, I wouldn’t touch it. My dad absolutely loves it. He makes rhubarb rolls fairly often and the first time I remember enjoying them was when I made them for Hubby last year. Another indication of how my tastes have changed as I grow older…

Even though rhubarb is in fact a veggie, I always think of desserts when I think rhubarb. There’s just something about the tartness of the rhubarb that makes desserts so great.

So when I got a ton of rhubarb from my coworker, I started looking for recipes to make with it. I was trying so hard to find a savory treat, but just kept going back to this pie.
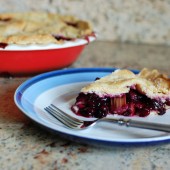
Hubby’s favorite pie of all time is blueberry pie and I was intrigued by the combination of a blueberry-rhubarb pie. We all know rhubarb is usually paired with strawberries or even raspberries, but this combination is just as good if not better. Hubby said it was like a tart blueberry pie.

As you can probably tell from the pictures, we enjoyed this pie at a friend’s house. A weekend at the Cape with great friends and a summery pie is as close to perfect as it gets! And, if you go blueberry picking like we did, be sure to freeze some berries for delicious treats all year! I just throw clean berries on a baking sheet and pop them in the freezer. Once frozen, throw the berries in a ziplock bag.
One Year Ago: Rhubarb Raspberry Jam


Blueberry Rhubarb Pie
Yield: 8
Ingredients:
3 cups diced rhubarb
2 cups fresh blueberries
1 pinch salt
1/8 tsp freshly ground nutmeg
juice from 1/2 lemon
1 1/3 cups sugar
1/3 cup cornstarch
1 double pie crust
2 Tbsp butter, cut up
Decorating sugar
Directions:
Preheat an oven to 425. Line a baking sheet with aluminum foil.
Toss the rhubarb and blueberries in a bowl with the salt, nutmeg, lemon juice, sugar, and cornstarch until evenly mixed.
Pour into the pie shell and dot with butter. Cover the filled crust with the top crust and flute the edges. Cut a few decorative steam vents in the top crust. Sprinkle the crust with decorating sugar; cover the fluted edges with aluminum foil to prevent excessive browning. Place the pie tin on the prepared baking sheet.
Bake for 15 minutes then reduce the heat to 350 and bake 35 minutes longer.
Remove the foil and bake until the crust is golden and juice is bubbling through the slits, about 15 minutes more. Cool completely before serving.
Recipe adapted from AllRecipes.com


 I am Jen the Beantown Baker. Engineer by day and baking maven by night. Hubby serves as my #1 fan and official taste tester. We got hitched back in 2006. Barefoot. In the sand. With the waves crashing behind us. It was one of the best decisions we’ve ever made.


