


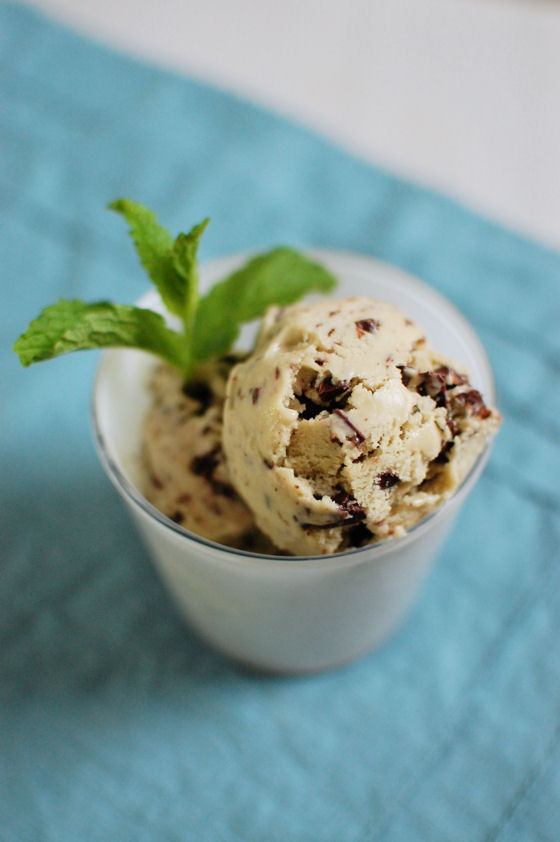
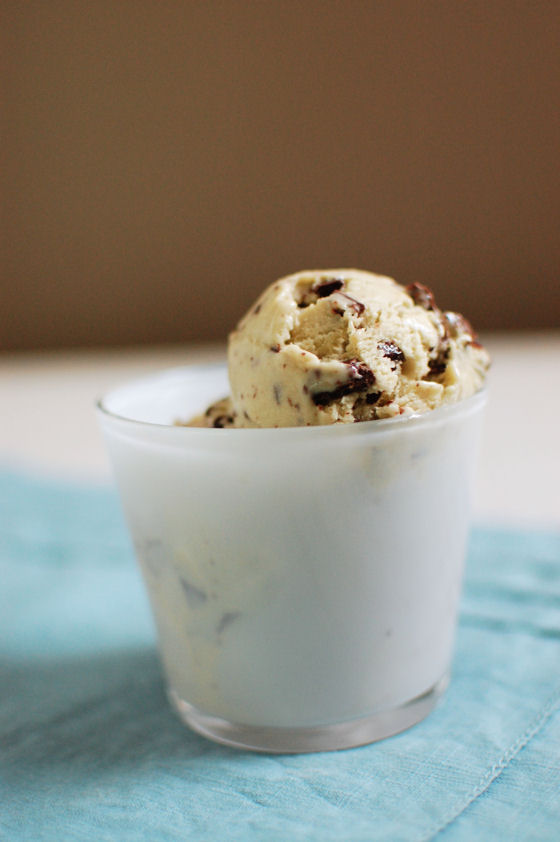
Mint Chip Ice Cream
Mint chip is one of my favorite ice cream flavors. I feel like it’s often underestimated and under-appreciated. As I have stated multiple times before, chocolate and mint is one of my favorite flavor combos out there. I especially love that most mint chip ice creams have big chunks of chocolate in them, not chocolate chips. It’s a weird minor nuance, but I think it really makes mint chip ice cream special.
I was excited to find a mint chip ice cream recipe that didn’t call for any extracts. The mint coolness in this ice cream comes from steeping the milk with fresh mint leaves then squeezing all of the liquid out of them to get a true minty experience.
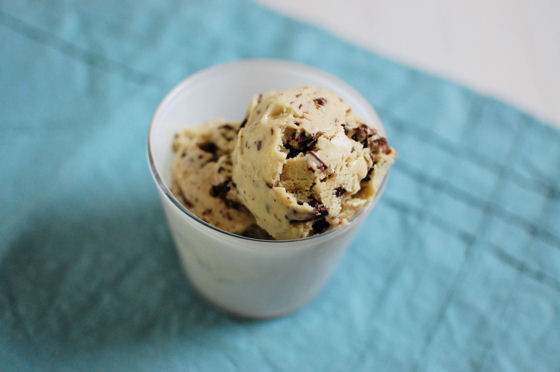
You’ll also notice that the color isn’t bright green. It does have a subtle green color but without the use of artificial coloring, you’re just not going to get a bright green color. And that’s fine by me. Everyone who tried this ice cream agreed that it was very minty. Topping a warm brownie with this ice cream made the most amazing brownie sundaes!
One Year Ago: Peppermint Fudge Brownies
Two Years Ago: Chocolate Chocolate Muffins
Five Years Ago: Tomatoes Stuffed with Salmon Dill Dip


Mint Chip Ice Cream
Ingredients:
3 cups of fresh mint leaves (no stems), rinsed, drained and packed
3 cups coconut milk, divided
2/3 cup sugar
Pinch of salt
5 egg yolks
8 oz dark chocolate, chopped
Directions:
Heat mint leaves and 2 cups coconut milk on the stove until just steaming (do not let boil.) Remove from heat and let stand, covered for 1 hour.
Strain the mixture into a separate bowl, pressing on the mint leaves to get out all the liquid. Return the mixture to the saucepan and add sugar and salt. Heat just until sugar has dissolved.
In a medium sized bowl, whisk egg yolks. Slowly pour heated milk mixture into egg yolks, whisking constantly. Return mixture to the saucepan.
Cook over low heat until thick enough to coat the back of a spoon, about 10 minutes.
Strain though a fine mesh sieve into a large bowl. Add remaining cup of milk and stir to combine.
Place in fridge until completely cool then process according to the directions on your ice cream maker.
Stir in chocolate chunks once ice cream has formed.
Recipe adapted from The Endless Meal


 I am Jen the Beantown Baker. Engineer by day and baking maven by night. Hubby serves as my #1 fan and official taste tester. We got hitched back in 2006. Barefoot. In the sand. With the waves crashing behind us. It was one of the best decisions we’ve ever made.


Those look so good, now we don’t have to wait unitl the GS are selling there cookies again 🙂
Yum! They look delicious and your pictures are great.
I made these a while back and loved them too! It’s nice to be able to make your own any time you want!
Beautiful photos. You did an awesome job on these.
I’m so glad you made these! I noticed these on another blog and had them on my “to make” list. Your pictures may motivate me to make them this weekend!
They look terrific and I’ve never been one to eat girl scout cookies.
~ingrid
Now these look amazing!! Great job!
Ive been wanting to make these – they look crazy tasty!
Thanks for sharing! Yum!
Great job – my hubby’s hoping I will give these a go.
Samoas are my favorite too! I’m totally making some this weekend!!
What a great way to enjoy Samoas when there are no cookies left!
Yum!
These look great!! Although I don’t eat coconut, I’ll have to make them for my hubby and coworkers sometime.
Not sure if you got my email last weekend but I was wondering if you know of any must-visit bakeries or eateries in Boston. We will be vacationing in Boston in a couple weeks. Thanks!!!
Hanaa
Thanks for emailing me, Jen. I emailed you back to the address you gave me. Hopefully that worked :o)