


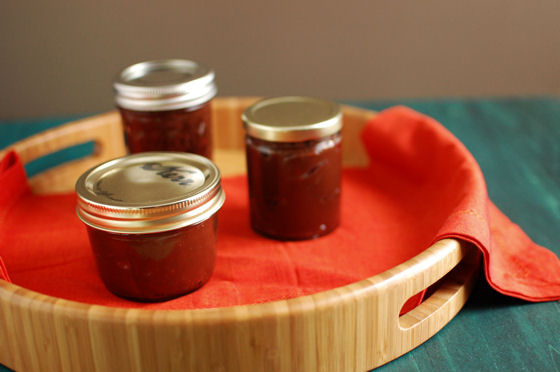
Hot Fudge Sauce
Hot fudge sundaes are one of my all time favorite desserts. Growing up, my dad and I were both crazy about ice cream. We’d have a bowl almost every night. His favorite was butter pecan. Mine was vanilla with hot fudge sauce on top.
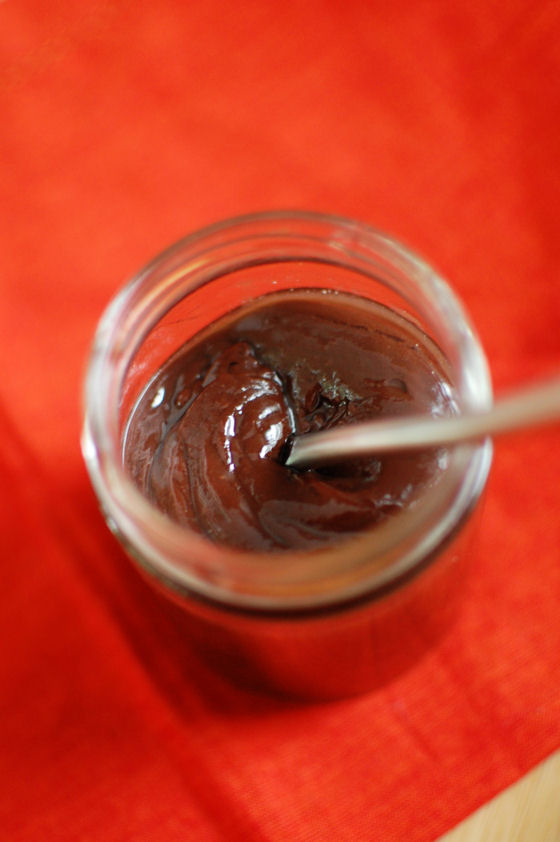
After growing up eating the store bought stuff, I wanted to try to make some at home. There are a variety of recipes out there. This one is nice and simple and results in a creamy, extremely gooey, hot fudge sauce (aka, perfection).
Ever since I started making ice cream, I’ve kept a jar of this stuff in the fridge at all times. Hubby still claims he isn’t a chocolate guy, so he always declines when I offer him some hot fudge sauce on his ice cream. More for me I guess!
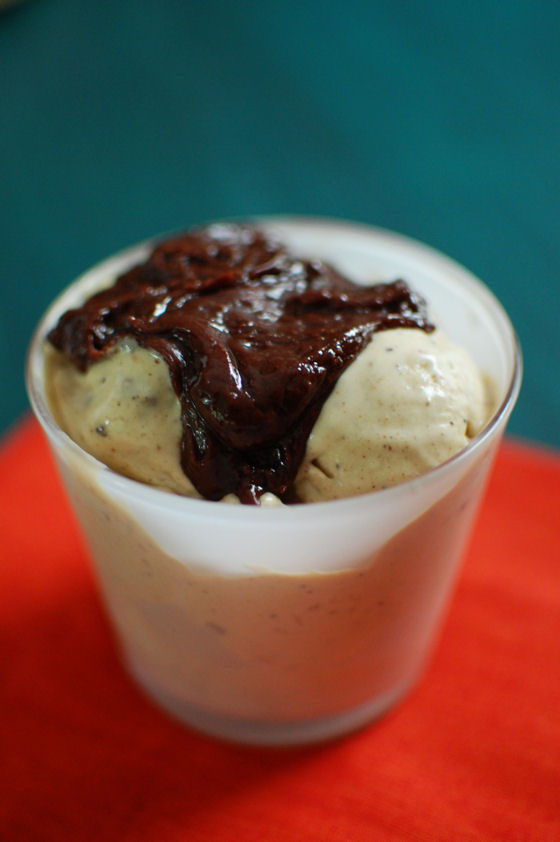
My two favorite ice creams to eat this with so far have been the Roasted Pistachio Ice Cream and the Mint Chip Ice Cream. With the roasted pistachio ice cream, it’s a sophisticated twist on the classic peanut butter and chocolate combination. And I’m sure I don’t have to explain why it’s amazing on the mint chip ice cream. In fact, since that ice cream was SO minty, I almost enjoyed it better with the hot fudge sauce than without it.
One Year Ago: Europe Trip Recap – Rhine River Valley in Germany
Three Years Ago: Peach, Goat Cheese, and Caramelized Onion Quesadilla and Two Potato and Spinach Salad
Four Years Ago: Harry Potter Cupcakes and Crockpot Chicken Tacos
Five Years Ago: Watermelon Cupcakes


Hot Fudge Sauce
This hot fudge sauce makes the best fudge sundaes. Just top your favorite ice cream with some heated sauce.
Yield: ~3 cups
Total Time: 5 minutes
Ingredients:
1/2 cup butter
1 (14 oz) can sweetened condensed milk
1 cup chocolate chips
1/2 tsp salt
Directions:
Place the butter, sweetened condensed milk and chocolate chips in a small sauce pot.
Heat on medium low until melted and smooth.
Stir in the salt.
Recipe from Half Baked Harvest


 I am Jen the Beantown Baker. Engineer by day and baking maven by night. Hubby serves as my #1 fan and official taste tester. We got hitched back in 2006. Barefoot. In the sand. With the waves crashing behind us. It was one of the best decisions we’ve ever made.


These cookies look great! Hope you feel better soon Jen!
These look awesome. I love chocolate and cinnamon together.
Feel better!
Love oatmeal cookies! Hope you’re feeling better 🙂
Aw, I didn’t realize you hadn’t gone to the swap! What a bummer. But then at least you didn’t have to share these cookies. 😉
Yum. I really love the combo of chocolate and cinnamon! Glad they came out well.
Feel better!!
hope you were able to get some rest and are feeling better! we missed you, but hopefully we’ll have another chance to catch up soon. these look great, and i’ve got some cinnamon chips in my house too 😉
I’m not sure I’ve had chocolate & cinnamon together before but I bet the combination is great! And if it’s in an oatmeal cookie, you can’t really go wrong.
I love cinnamon chips and put them in oatmeal cookies. I never thought of putting them in chocolate chip oatmeal cookies-they look amazing!
Jenn, these sound awesome, and I have some cinnamon chips to use!
These look wonderful! I’m sure being stuck in the house with a whole batch of them made you feel a little bit better, right? I love cookies with cinnamon chips in them!
Sues
These look so delicious. Getting sick on important (dessert related!) events is the absolute worst. I think another cookie swap is in your future.